Tuesday, January 13, 2026 17:09:05

A Comprehensive Guide to Installing WampServer on Windows, MacOS, and Linux

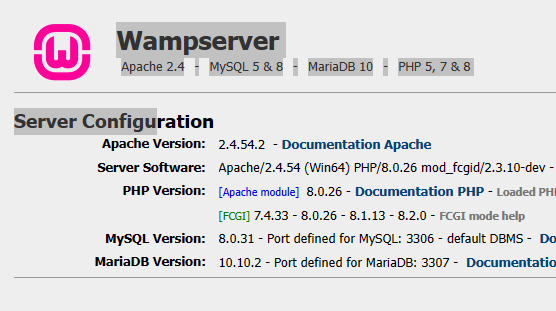
WampServer serves as a convenient solution, providing an integrated platform for running web applications on Windows, MacOS, and Linux. Here's a detailed guide on how to set up WampServer effortlessly on your preferred operating system.

Educational / November 07, 2023

For Windows:

  1. Download WampServer: Visit the official WampServer website and download the latest version of WampServer for Windows.

  2. Run the Installer: After the download is complete, run the installer. Follow the instructions provided by the installation wizard.

  3. Choose Components: During the installation process, you will be prompted to select components such as Apache, MySQL, and PHP. Choose the necessary components and proceed.

  4. Configure Settings: Configure any necessary settings such as port numbers or directories according to your requirements.

  5. Complete Installation: Complete the installation process and check the system tray to ensure that the WampServer icon is green, indicating that the server is running.

For MacOS:

  1. Install Homebrew: If you don't have Homebrew installed, open the terminal and install Homebrew by following the instructions on the Homebrew website.

  2. Install Required Packages: Use Homebrew to install Apache, MySQL, and PHP by running the following commands in the terminal:

    brew install httpd brew install mysql brew install php
  3. Configure Settings: Adjust the configurations of Apache, MySQL, and PHP to fit your needs, ensuring compatibility and smooth operation.

  4. Verify Installation: After the installation is complete, check the services' status and ensure they are running.

For Linux:

  1. Update Package Manager: Open the terminal and update the package manager to ensure you have the latest package information.

    sudo apt update
  2. Install Required Packages: Use the package manager to install Apache, MySQL, and PHP by running the following commands in the terminal:

    sudo apt install apache2

    sudo apt install mysql-server

    sudo apt install php

  3. Configure Settings: Configure the necessary settings, including ports and directories, to ensure all components work seamlessly.

  4. Start WampServer Services: Start the WampServer services and confirm that the installation is successful.

Follow these steps closely to install WampServer successfully on your Windows, MacOS, or Linux system. Enjoy the enhanced convenience and efficiency in your local web development projects.

0 Comments

Leave a comment

Author Details

Author name- Deep

Newsletter

Please Enter Your Email for Subscribe Newsletter

MyBlog

Your Personal Blog Website.
Register your account for Add Blogs.

© Deepakhawale.in. All Rights Reserved.